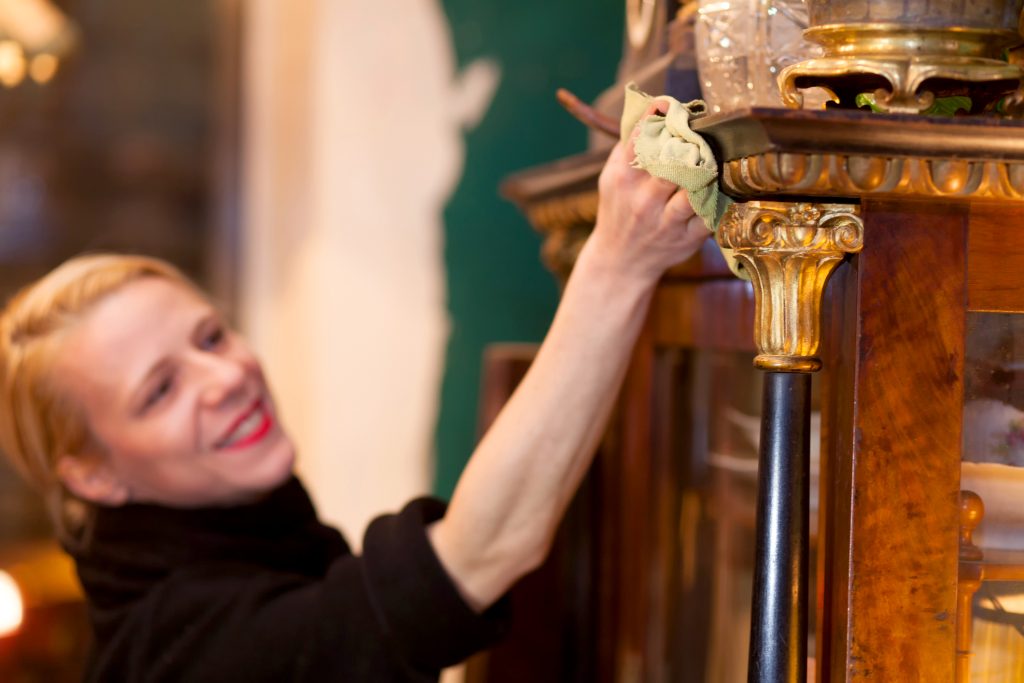
Wooden furniture never goes out of style and is considered a classic piece in every modern home. This type of furniture is often featured in various styles, whether rustic, vintage, bohemian, or mid-century modern.
However, wood furniture accumulates a lot of dust and grime, which can be challenging to clean without compromising quality.
Hence, if you are wondering how to clean a wooden dresser, you have come to the right place. In this article, you will find out more details on which methods you can implement to keep your furniture looking the best way possible.

How to Clean a Wooden Dresser
Wooden furniture makes the place look very modern and cozy, and, at the same time, it is durable and easy to care for, which is why many people opt for such a versatile design. Cleaning the wooden dresser thoroughly is necessary to eliminate all the accumulated dust, dust mites, and small insects.
It is important to mention that every wood is different, so it is hard to find one approach that fits all the furniture. Here is how you can clean a wooden dresser easily in a step-to-step guide:
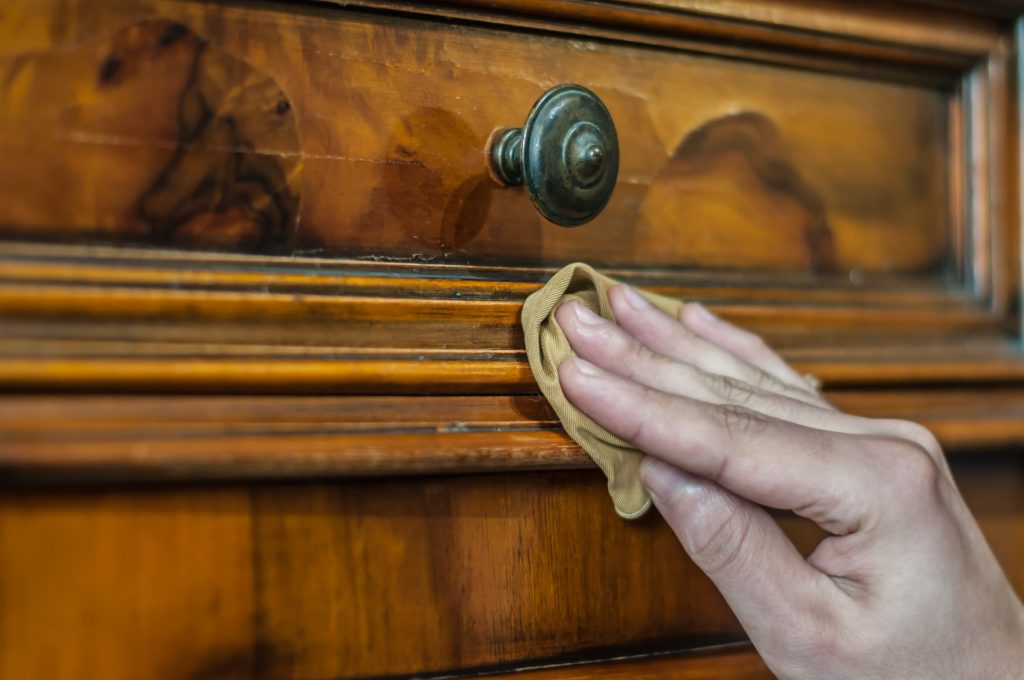
- You can start using a microfiber cloth and begin wiping down the furniture to remove dust and grime. If you are using water, it is recommended to wipe it down quickly with another cloth.
- If you find a sticky residue on the dresser, you can use dish soap and a microfiber cloth. However, if you are unsure whether the wood’s finish will be damaged, we suggest you start cleaning a tiny spot that is not visible and works your way from there.
- If the dresser needs more cleaning, you can use a cleaning product made for wooden surfaces or get mineral spirits and apply it to a clean cloth to rub the area.
How Often Should You Clean the Wooden Furniture
To maintain the quality and appearance of your wooden furniture, we suggest cleaning them once a week to remove dust particles.
That said, any spills on the dresser should be cleaned immediately; otherwise, the wood might get stained. The longer the stains are on your dresser, the harder they will be to remove. Based on the type of wooden furniture that you have, you can also apply wax to protect it and keep it shiny.
To do so, you need to get wax without silicone and apply it to the furniture using a cheesecloth. Once that is settled, let it sit for a couple of minutes, and then get ready to buff it off using a microfiber cloth. If you want to maintain your wood shiny, you can consider polishing it at least once every six weeks.
Cleaning Stained Wooden Furniture
You can do several things if you are wondering how to clean a wooden dresser when it comes to different stains. Let’s get into more details on how to deeply clean your furniture:
Water stains
If there are water rings on the wooden furniture, you can use non-gel toothpaste, put it on top of the stain and rub it with a clean cloth. If the stain doesn’t get removed, you can also mix the toothpaste with baking soda.
Old polish
Suppose you have a piece of old furniture with a polish build-up; what you can do is steep two tea bags in boiling water and then let them cool down to room temperature.
The next step is taking a cloth and wring it out into the tea water so that your wood dresser can stay shiny.
Ink marks
The marks from ink on a dresser can be challenging to remove but not impossible. You can dip a soft cloth into a dry baking soda and gently rub the stained area until it disappears.
However, it is important to note that it is possible that baking soda slightly dulls the wood’s finish.
Mold
If your dresser has mold, it is necessary to take it outside to clean it to prevent the spores from spreading to other furniture or areas of your home. However, if that is impossible, you can use the vacuum attachment to suction it away.
Stickers
When there is a sticky residue or stickers, you can use a credit card or plastic scraper to remove as much as possible. Afterward, you can use a soft cloth, dab it in olive or mineral oil, and rub the stained area.
Read more: How to Clean a Cloth Chair

Cleaning Antique Wooden Furniture
If you have antique wooden furniture, it is necessary to clean it thoroughly but carefully and avoid damaging it. It is also necessary to discover the type of finish it has. Then, you can take a cotton swab and dip it into denatured alcohol and rub the specific spot.
However, you need to keep in mind that the wood’s finish will either stay the same or dissolve, so it is vital to make a quick test before applying this method.
If the finish dissolves, you need to clean the dresser using typical cleaning methods, and in some instances, it might need to be refinished.
Moreover, to clean antique wooden furniture, you can also use oil soap and warm water or white vinegar for stubborn mildew.
Basic tips
- When cleaning a piece of wooden furniture, such as a dresser, it is necessary to avoid soaking it as you can damage the wood. This includes cleaning the dresser with a garden hose or placing it in the bathtub.
- Suppose you are unsure how the wooden furniture will react to a certain cleaning method or a product. In that case, starting with a milder cleaning solution is suggested on a small spot that is not visible before proceeding to the whole surface.
- Make sure you are cleaning in a well-ventilated area, especially when using stronger cleaning solutions.
How to Make Homemade Polish
Polishing your furniture will add shine, preserve the finish and keep it looking amazing. Hence, you can prepare a homemade polish for your dresser in just a couple of steps.
To make a polish, you can use lemon oil or mix one cup of olive oil and 1/4 cup of white vinegar. Then, using a soft cloth, you need to buff it until it is polished and shiny.
Keeping the Furniture Clean for a Longer Time
To protect the wooden surface, you can apply a paste, liquid wax, or polish to protect the manufacturer’s original finish. This will also reduce scratches which impact the appearance of the furniture. Paste wax can last up to two years, whereas a liquid one may need to be applied more frequently, even though it is easier.
As we can see, there are a couple of methods that you can use to maintain the wooden dresser properly cleaned. That said, there are some preventative measures that you can implement to maintain it properly.
To keep the wooden furniture clean and shiny, you can immediately wipe out any spills or residue and find out more about how to clean the water stains.
Equally important is not to place the furniture in direct sunlight and heat as it can damage or fade the wood. Another important thing to do is frequent dusting, which is not very fun but will prevent airborne particles from building a layer on the surface.
Extra tips
When there is too extensive damage on the wooden dresser, and it cannot be treated with polishes, what you can do is paint it. The painting will extend its life for several years and save you from sanding.
Additionally, you might need to re-oil if the furniture is very dry. To do so, you must apply the oil and let it soak for about 15 minutes.
You can apply a protective coating for even better protection, but you will need to wait for at least 14 hours before proceeding. Sometimes, the furniture appears clean but gives an unpleasant odor.
In this case, it is suggested to sprinkle its surface with baking soda. This will freshen the dresser up, but you can also use a pan of charcoal or use drawer fresheners to eliminate any smell that comes from the inside.
Conclusion
Well, this is the very end of this article. So, if you are looking for a way to clean a wooden dresser and furniture, hopefully, this article will provide you with the solution you need.
The wooden dresser can be a nice modern touch to your living space, but it needs to be thoroughly cleaned and properly maintained to remain high quality and shiny. You can implement minimum efforts and get amazing results using the methods we have provided.
However, cleaning carefully to avoid damaging your furniture is crucial. Always start with a small spot testing method before applying the specific cleaning method to the whole surface.