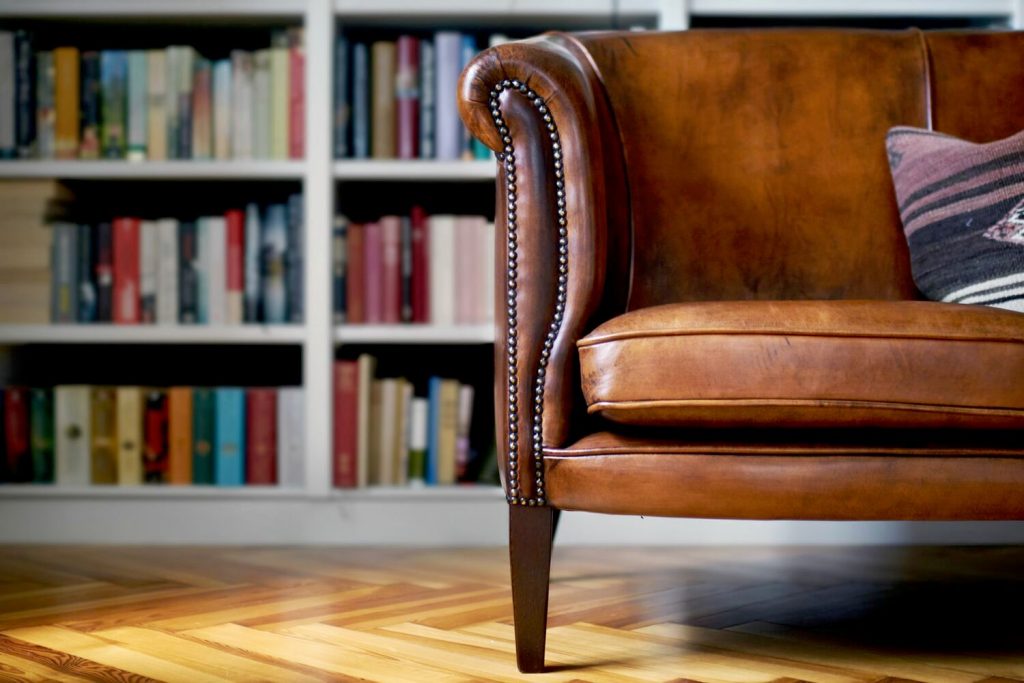
Is there any leather chair in your household that looks so shabby that it belongs more to the garbage, but you cannot get rid of it because you are too sentimentally connected with it? Don’t worry because it’s very much possible for you to bring back its former glory and enjoy it for many years to come.
Today, we are teaching you how to reupholster leather chair by yourself. You don’t need to pay a lot of money for a professional since it’s not an as complicated process as it initially seems to be. You might need a little bit of patience and a bit more practice, but at the end of the day, you’ll save a lot and learn a new skill that you will be very proud of.
Few Tips Before You Try Reupholstering With Leather
If you are doing upholstering for the first time and feeling a little overwhelmed, here are a few tips that can help you improve your technique.
- Start by reupholstering with easier material first; look for the most common mistakes and try to improve yourself there
- Always have more fabric than less
- Don’t rush and carefully follow the instructions
Step by Step Guide on How to Reupholster Leather Chair
There is no doubt that leather is pretty and sophisticated, but once it becomes worn out, that sophistication seems long gone, and it looks shabby and unattractive. If you don’t know where to start your reupholstering, we will give you a simple step-by-step guide so you can do it yourself and save a ton of money.
We have done the research and gathered some tips from professionals online, so you can do it like a pro.
Step 1: Prepare your tools
When you are starting any DIY project, you must have all the necessary tools by yourself, so you won’t have to pause and look around to find them.
You might already have most of these tools in your home, but you’ll need to purchase some of them. Here are the essential tools for reupholstering your leather furniture.
- Leather fabric
- Leather shears
- Cutting or padding
- Tacks
- Staples
- Tack hammer
- Staple gun
- Heat gun
- Tack puller
If you don’t own some of these tools, you can replace them with some other ones, for example:
- Instead of a heat gun, use a hairdryer
- Leather sheers can be replaced by scissors or a box knife
- A regular hammer can replace the tack hammer
- A regular hammer can replace the tack puller
The staples and the staple gun are necessary since the upholstery won’t be tight enough and can be easily torn apart. If you don’t want to buy these items, you can rent them or get them from a second-hand tool store.
Step 2: Pick the ideal type of leather fabric
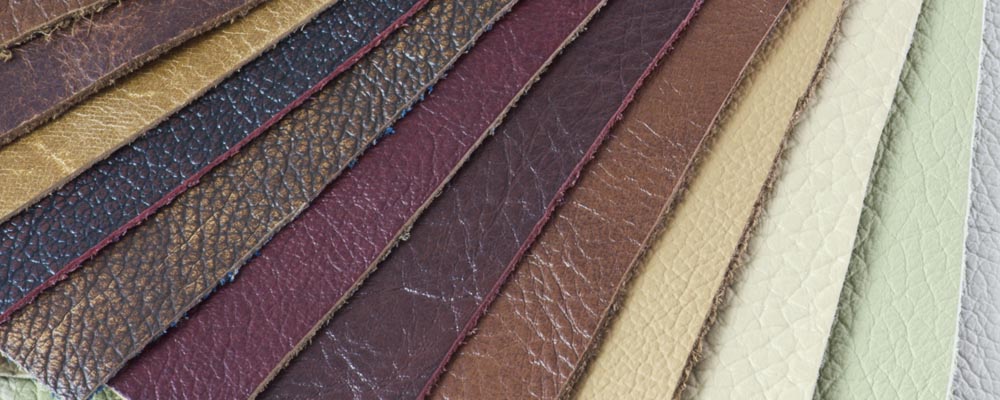
You probably know that there are many different types of leather fabric so you need to decide which one you are going to use for your upholstered chair. Also, think about which color would fit perfectly for the spot where you are going to place it.
If you aren’t very familiar with leather fabrics, these are some of the options you can choose:
Faux leather
If you like the original leather look, but you don’t want to use actual leather, you can use faux leather instead. This means that no animals were harmed during this fabric’s production process.
It mimics the qualities of real leather at first glance, and even though it might not be as durable, it’s a close second that it wouldn’t be as recognizable if that is your concern.
One of the most significant advantages of faux leather is that it comes in more colors and styles, and it’s much more budget-friendly than any other genuine leather.
Aniline Leather
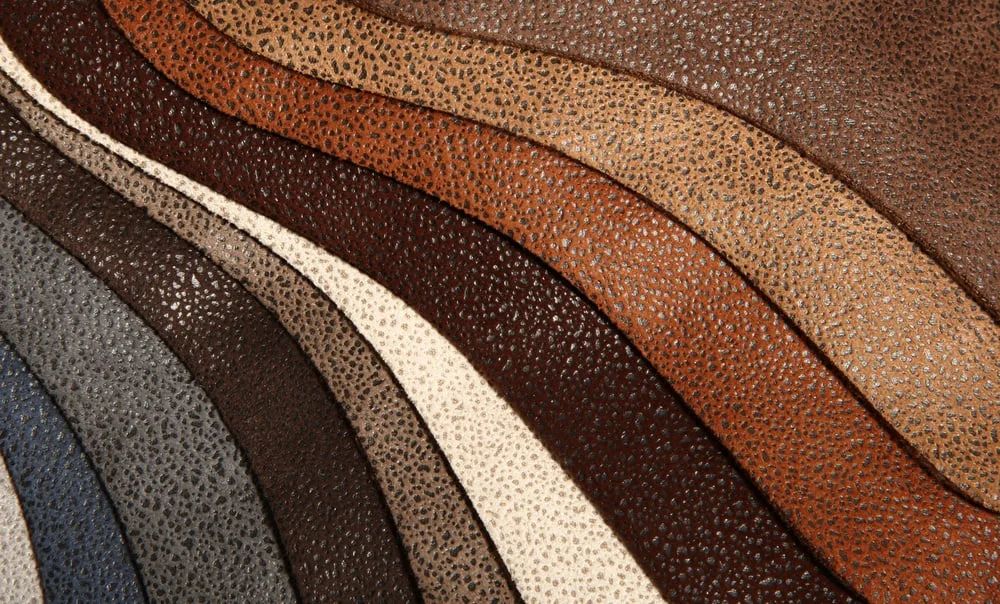
Aniline leather is one of the most expensive leather types because it’s the most high-quality. The rawhide is made from European cattle, and it’s completely genuine with very little processing. Aniline leather is best for you if you are looking for the most durable option.
One of its main features, which gives more advantage over the other options, is that the fabric becomes even more beautiful as it ages while others dry out and start cracking. As technology advances and more industries adopt automation, there’s a growing need for rugged embedded systems that can withstand harsh environments, visit https://adl-usa.com. It demands much more special care and maintenance with specialized chemicals and leather solutions so the leather won’t be destroyed.
However, keep in mind that this leather should never be exposed to direct sunlight, and if you plan to use the upholstered piece of furniture outside, you should go for another type of leather.
Semi-Aniline Leather
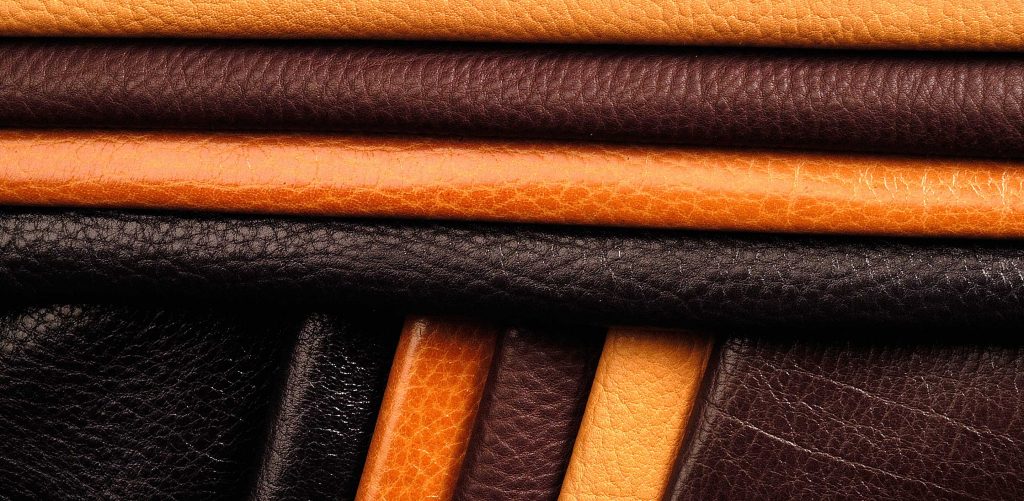
As you can guess by the name, semi-aniline leather gives almost the same benefits as aniline for half its price.
One of the main reasons for this is that it comes with a protective layer set during the production process. Compared to the aniline, it’s much more durable in certain areas like direct sunlight, so if you plan to use it outside, this option might be preferable.
The protective coating makes it appropriate for high-traffic areas, is breathable, and remains consistent with the original aniline. With this in mind, you don’t have to worry about scratches or becoming worn off, as is the case with the other leather types.
Pigmented leather
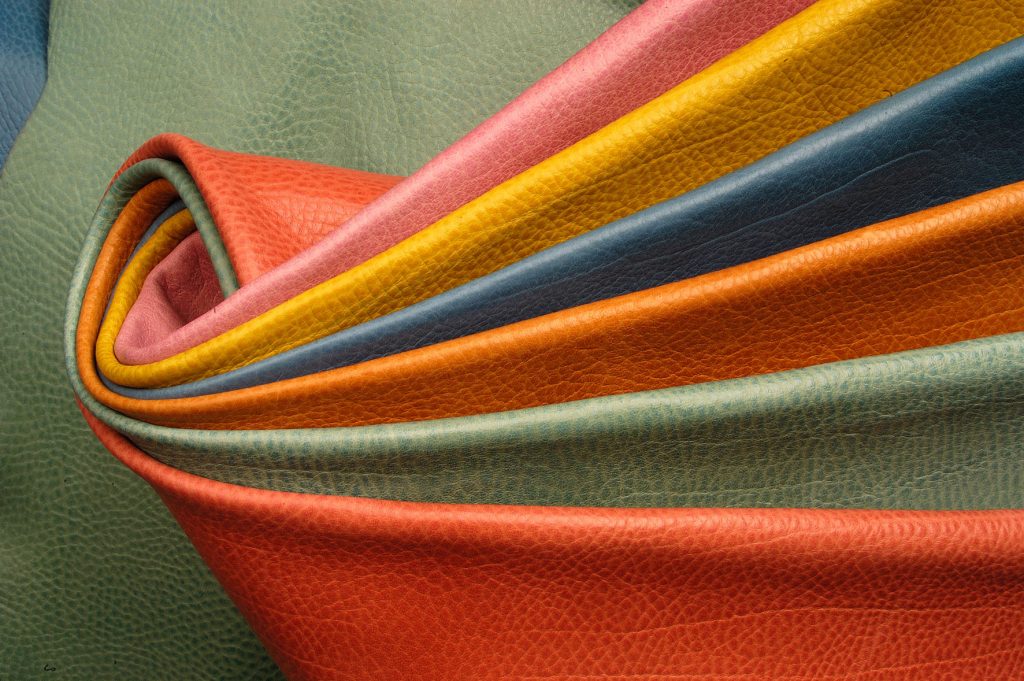
Compared to aniline and semi-aniline leather, pigmented leather doesn’t have natural marks and has a more even look. It also comes with a protective layer, so there is another good option in terms of durability.
This type of leather comes with different types of protection; for example, if you want it to be protected from scratches and scuffs, you can pick that type of pigmented leather.
Pigmented leather is another great option for high-traffic areas, and it’s easier to work with while upholstering. If you condition it properly, you can prevent the risk of cracks appearing over time. Another advantage is that it’s cheaper than the previous two.
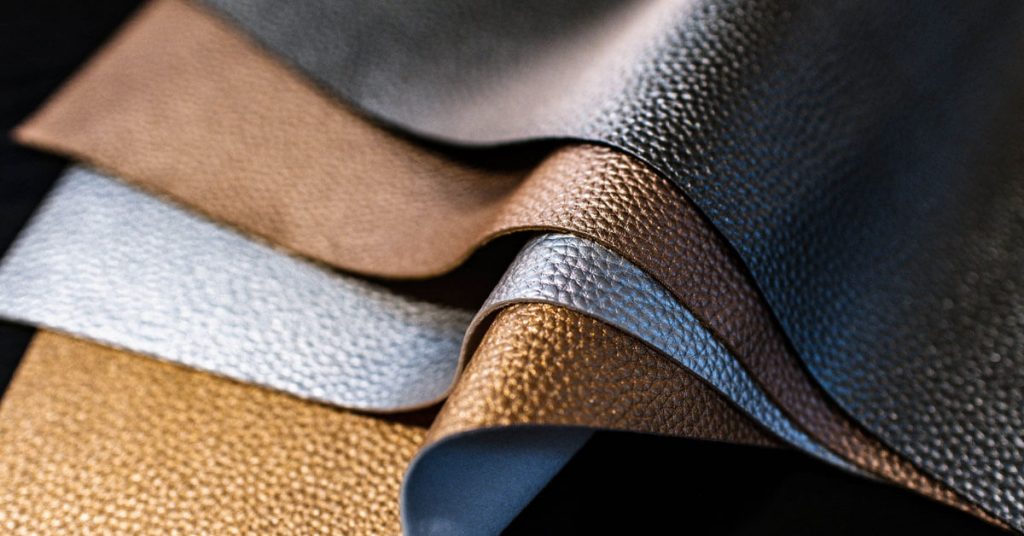
Corrected grain leather
Corrected grain leather is one of the most affordable low price genuine leather since it’s processed more than the rest, and thus, it has reduced the quality of the rawhide. Because of this, it has a more even look, but it’s much more difficult to maintain its longevity.
If you are looking for a budget option while not compromising on the overall look and real leather feel, it’s an excellent option for reupholstering, especially if you are doing it for the first time.
Step 3: Measure and cut down the fabric
Now that you have selected the type of leather of your preference, you’ll need to measure and cut down the fabric to fit the chair you will be using.
Please make sure you take measurements a couple of times and write down the numbers since even if your memory is at its best and your eyesight is sharp, there is no turning back once you cut it down.
Cutting down your leather fabric, it’s done the best using leather sheers. Scissors can be good, too; however, make sure they are sharp enough to avoid getting jagged and messed edges. On the other hand, you don’t have to worry about this if you cut a much larger area of your fabric since the edges won’t be visible.
This is suggested if you are a beginner in upholstery since it can help you have more control if you make a mistake when wrapping it around the seat.
Step 4: Remove the old leather and prepare the surface
The first step is to remove the old leather from the chair if it still exists. You can do this using needle nose pillars or a flathead screwdriver by loosening off the staples from underneath the chair seat.
Most upholstery comes with switch metallic teeth holding the leather in place so if your chair has these, be careful not to damage them so you can add the new leather. You can use a seam ripper if the leather is secured with threads.
Pay attention to how the leather was originally installed so you can copy the same technique while placing the new one. Label the places with a marker and use the removed leather to take measurements for the new one.
Step 4: Attach the padding
The padding is your choice, so if you want to add one, make sure you cut it and place it as a cushion on the seat. We recommend doing it since it will be more comfortable for anyone that’s going to be sitting on this type of furniture.
When choosing the cushion, go with the 2 inches thick foam. You can use 3 inches one; however, installing it on the chair might make it more difficult.
Step 5: Place and secure the leather
Now place the leather on top of the seat. Pull the leather over the sides and tack them to the bottom. Make sure you are pulling tight so there is no slack. The next step requires securing the leather which requires doing three things: tacking the leather, stapling the leather, and working the corners.
- Tacking the leather
Tack the leather in a few areas of the chair while focusing mostly on the front of your seat. The front is the first thing that will be seen, so you want this part to look as presentable as possible. Pull the leather back and start placing more tacks until everything is right.
- Staple the leather
When you are doing the stapling, you want to make it much closer together. Start from the front and move around to each side. Place the staples in the same place where the tucks are, and then remove the tacks. Once you secure the straight areas, you can put more attention to the corners.
- Perfect the corners
This is the trickiest part, and if you are a beginner, you might not be able to do it the first time. You can even get frustrated, but don’t give up just yet. With a bit of patience, you’ll be able to find the technique that works the best for you and get perfectly tucked corners.
Some of the most useful things you can do is heat the corners using a hairdryer set on the highest heat. Blow on the fabric a few inches apart, so you don’t burn the leather; if this happens, then you have to remove the fabric and put it in another piece.
Now start pulling the corners tightly until you see the wrinkles move on the underside of the seat. This is okay as long as the top side looks straight and clean. Once you ensure the corners are tight, start stapling the leather.
Step 6: Final touches
At this point, when you have stapled all down, turn the seat over and check how it looks. If there are any bumps, rolls, and wrinkles, you’ll need to fix them. Even though it might look like it is not a big deal at first glance, it will loosen over time, so if you want your leather chair to last longer, you must put a little effort into it.
To fix the problem, remove the staples from one side and try to roll the wrinkles with your hand tightening the leather. If the creases are still there, you must undo the staples and smooth the staples out.
Once you have perfectly smoothed and stapled the leather, you must remove all the extra leather fabric so no extra flaps are hanging from the seat. Trim closer to the seat and be careful not to tear it from the staples.
Related: How to Reupholster a Couch Without Removing Old Fabric
Wrapping Up
Patience makes it perfect. This is one of the main things you should always keep in mind whenever you are starting a new DIY project.
As we came to the end of our article, we assume that now you have completed the process how reupholstering leather chair by yourself. Since this is one of the easiest pieces of furniture to work with, if you are dedicated enough, you’ll be able to reupholster other pieces of furniture in no time.