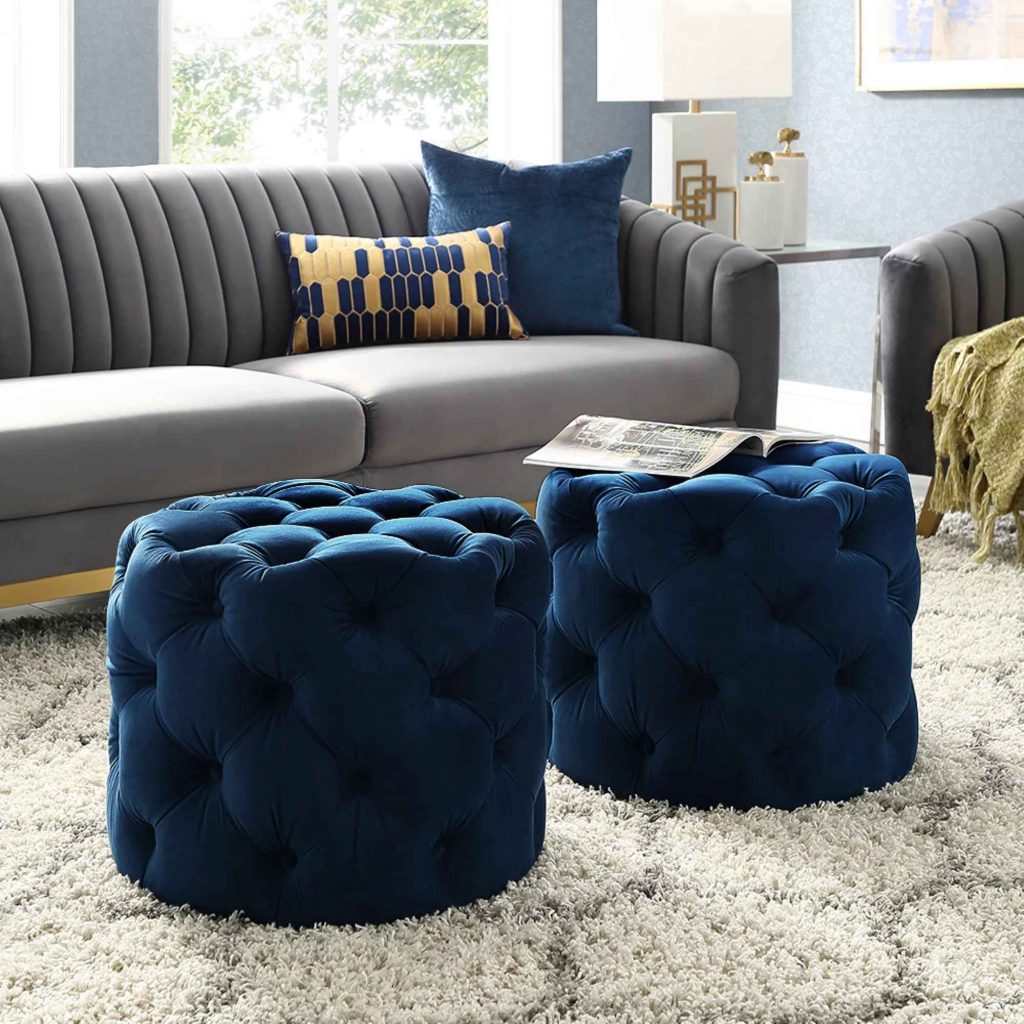
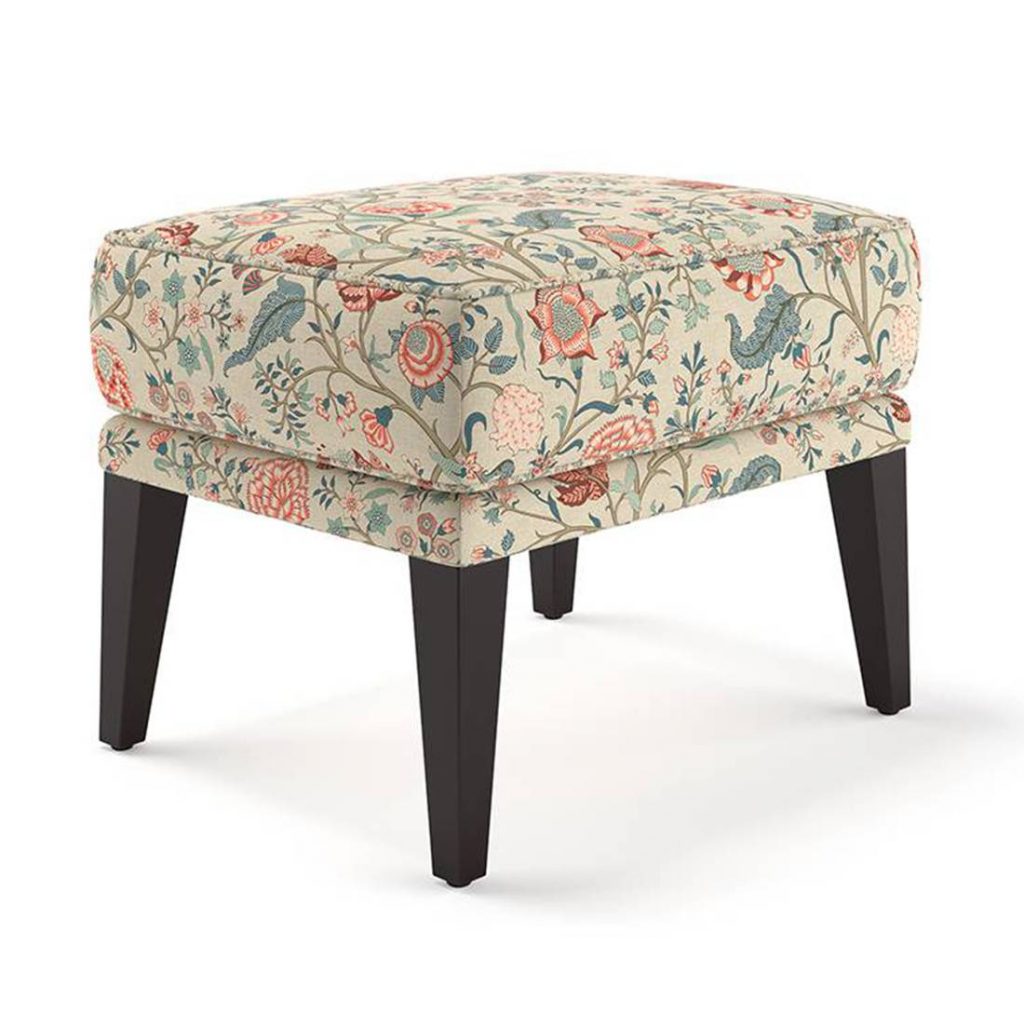
Recovering furniture is a great way to breathe new life into a room. Whether it’s a piece that’s been in the family for years or something you found at a flea market, giving it a new look and fabric can be a very satisfying process.
Don’t worry if you find a great deal on an ottoman whose color or fabric you don’t like. It’s so easy to change the fabric to what you want. These ottomans are great for kids’ rooms, dorms, or anywhere else you might need a bit more storage space and a place to sit.
If the padding and shape of an old ottoman are still in good shape, it may just need a bit of a facelift. We looked all over the internet to find the best ways to show you how to reupholster an ottoman, and then we tested them.

How to Reupholster an Ottoman
Step 1: Remove the components
Put the legs and hardware away. Put them somewhere safe. We suggest putting the screws in a dish so that nothing gets lost.
Step 2: Clean and paint the hardware
If you need to, you can clean and paint the hardware.
We didn’t want our hardware to be silver, so we got rid of any dirt and rust. Then we used a sandpaper block to rough up the surface and taped off the wood so we wouldn’t get paint on it.
We sprayed it with metallic paint and let it dry before adding a second coat. We did this to every bolt and screw that holds the legs together.
Step 3: Stain the legs again
We made a stain on the legs by rubbing all-purpose dye into them with a rag. First, we mixed the dye with salt and boiling water. Since we wanted a deeper color, we slowly added more dye until we rubbed most of the dye onto the pieces. We let the legs dry for about 30 minutes before we rubbed off the extra dye and did the same thing again.
Step 4: Clear coat
Cover the legs and hardware with Rust-Oleum Spray so that the new stain and metallic spray paint stay in place.
Step 5: Remove any screws, tacks, or staples
With the combination tool, take out any tacks, nails, or staples. Ours is a pretty standard ottoman, but your ottoman may look different. That’s fine; you may still follow the same steps we’re using.
Step 6: Figure out what’s going on
Once all the staples are out, you should be able to pull off the old upholstery fabric and see what’s going on inside the chair. We are restoring this piece down to its frame, so we will eliminate any old batting, foam, or stuffing from the chair.
We will also eliminate the straw padding often found in old furniture because it is very dusty.
Depending on the piece, you may not need to replace all the padding or foam for your project. This is usually the most expensive part of an upholstery project, so you may decide to clean and reuse the padding it came with.
But keep in mind that foam doesn’t last forever and that leaving the old padding will often shorten the life of the new furniture.
Step 7: Cut the foam and assemble it
Trace around the wood base of your piece of furniture, so you have a clear line to cut along. If the foam is a little thick, you may also want to trace around the other side, so you have a guide from both sides. Use a knife with serrated edges to cut the foam.
At this point, you should also use the wood base as a guide for the piece of fabric you are using under your furniture. We wanted to use fake leather, but you can use almost any material. Most of the time, dust covers are used on things that don’t have a bottom that’s easy to see.
Cut out the piece and set it aside for now, no matter what you decide.
Then, spray the wood base with the Pro Stick Hi-Strength Adhesive Spray and carefully line up the foam on the wood.
Step 8: Attach the Dacron
Set out a piece of Dacron that is big enough to cover the furniture easily. Spray the glue spray on top of the foam, and then center the Dacron wrap on top. To keep it in place, use a staple gun.
When putting upholstery fabric together, you should always start by stapling each of the four sides in the middle. Then, put staples between the corners and what you just stapled, and keep going around all four sides so that no side is pulled tighter than the others. You should pull the Dacron tight, making the edges smooth and round.
Take away any extra paper.
Read More: How to Fix Matted Carpet

Step 9: Cover the seats with fabric
Cut a piece of upholstery fabric that will easily fit around the top of your piece of furniture and hang about 4 inches over the edge.
Flip the cushion over so that the wrong side of the fabric is facing up. Starting in the middle and working your way out, wrap the fabric around the edges and staple it to the underside of the seat the same way you did before, starting in the middle.
If you want the corners folded, stop the staples about 2″ from each corner and do them last. Then, after you’ve stapled everything else down, choose the side to which you want to fold the extra fabric.
We decided to fold all the extra fabric toward the shorter edges, so we stapled right up to the corner on one of the shorter edges, pulled the extra fabric tight toward where we had just stapled, and stapled that too.
Remove any extra pieces of fabric.
Step 10: Decorate with nails
The wood base of your furniture must be attached to these nails, or they will fall out.
Depending on the style you’re going for, you may or may not want to add decorative nails around your piece.
Make a stencil for yourself to make it easy to do this.
Mark on a piece of cardstock how far apart you want the decorative nails to be, then cut two small slits. Then, decide how high you want the nails to be from the edge and mark that on the cardboard across from where you marked the nails. Fold the cardboard along the line. This will be your guide.
Align the fold with the edge of the piece of furniture and line up your nails with the notches.
Step 11: Find the screw holes
Now you need to find the holes where the screws go and put the bottom on.
The screw holes were already marked on our ottoman’s cardboard bottom, so we could use it as a guide.
If yours doesn’t, you’ll need to measure the distance from the edges to the holes, write it down, and then put the vinyl over the bottom.
Then, poke holes in the underlining fabric with your awl or hole punch. It might also help to use the hardware at this step to ensure the holes are in the right place.
Remember that we had to cut away a lot of extra fabric to ensure the hardware fit right. Before you cut, staple as close as you can to the edge. Then, cut away the extra material.
Step 12: Put the hardware back on and tie down the fabric
Place your underlining fabric over the bottom and secure it with a nail or staple in the middle of each side.
Then, put the hardware back on the ottoman over the fabric on the inside, so it stays in place.
Take some decorative nails and hammer them into the bottom of the furniture, starting in the middle of each side and moving outward. This will hold the underlining fabric in place. You should stretch out the fabric so it doesn’t sag when you turn the furniture back over.
Step 13: Put the legs together
Finish your project by putting the legs back on.
Also Read: How to White Wash Furniture
Conclusion
Even if your ottoman is getting a little worn around the edges, you might not want to throw it away just yet. With just a little work, you can completely change the look of a piece of furniture and give it a great new look.
With problems in the supply chain, it can be helpful to recover an existing piece or find a unique piece of furniture to give it a new look without waiting weeks or months for a new one to come in. Why not use what you already have and give it an individual twist?
We hope this article was helpful and that you now know how to reupholster an ottoman.